
 100% Verified
100% Verified
100% Verified
You are downloading as a guest.
")
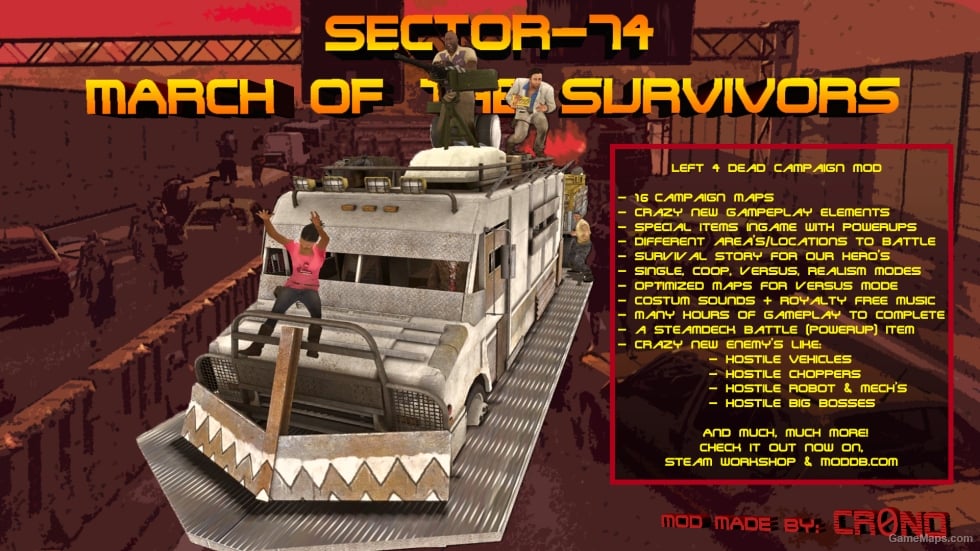
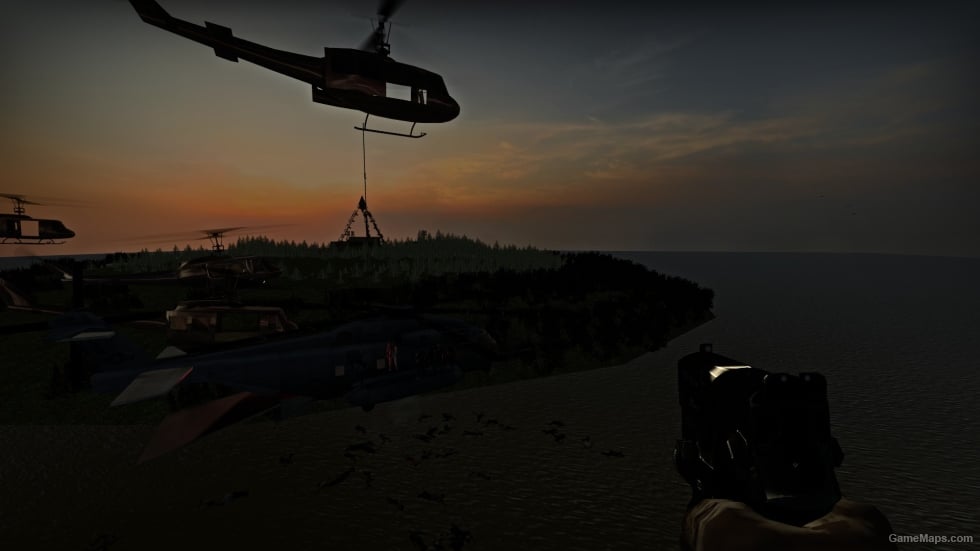
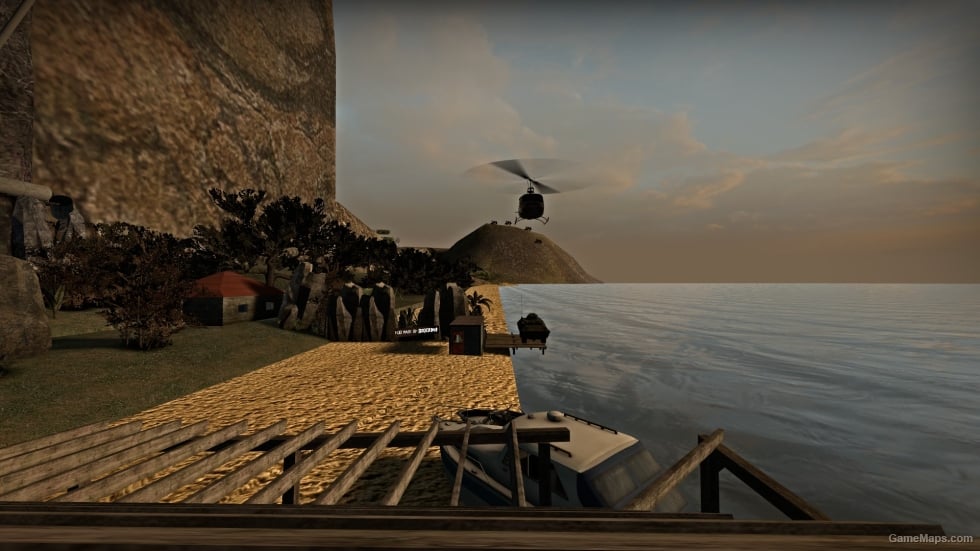
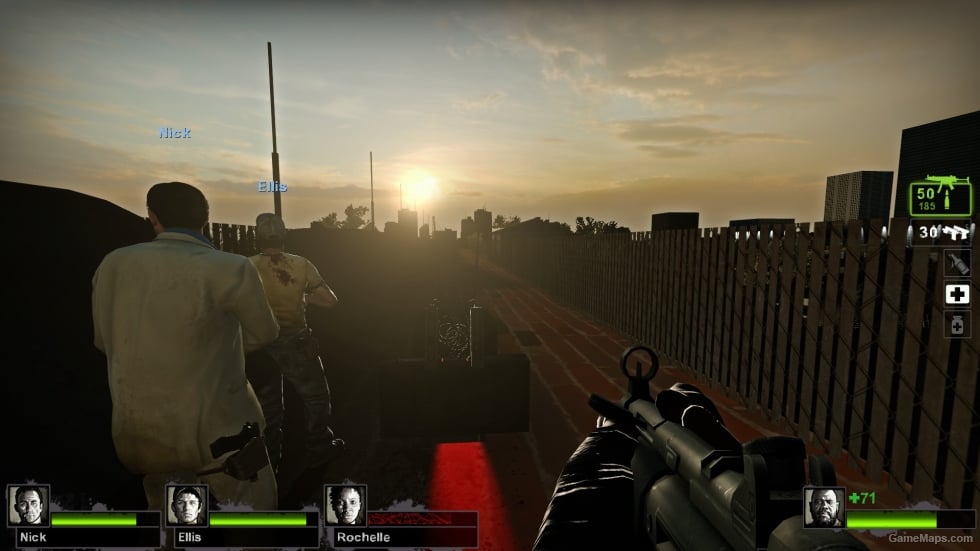
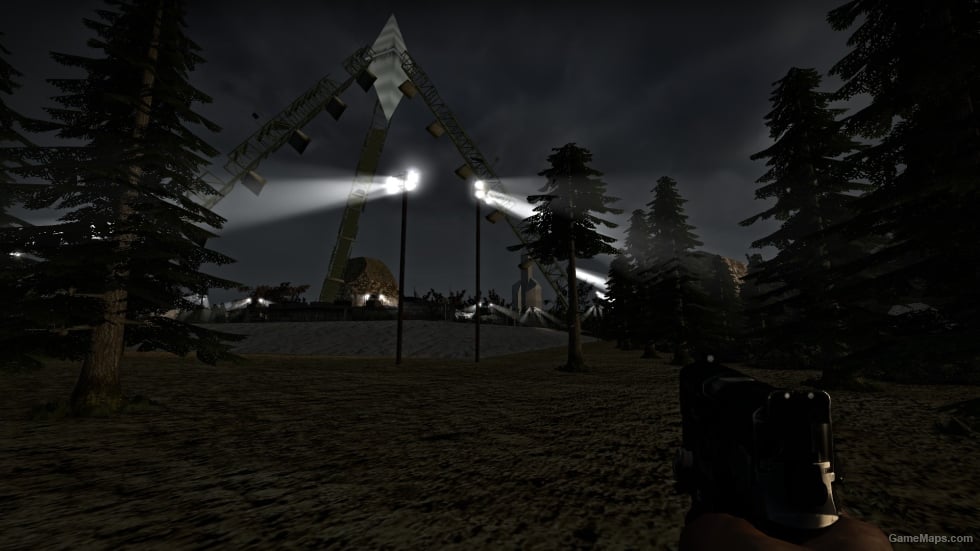
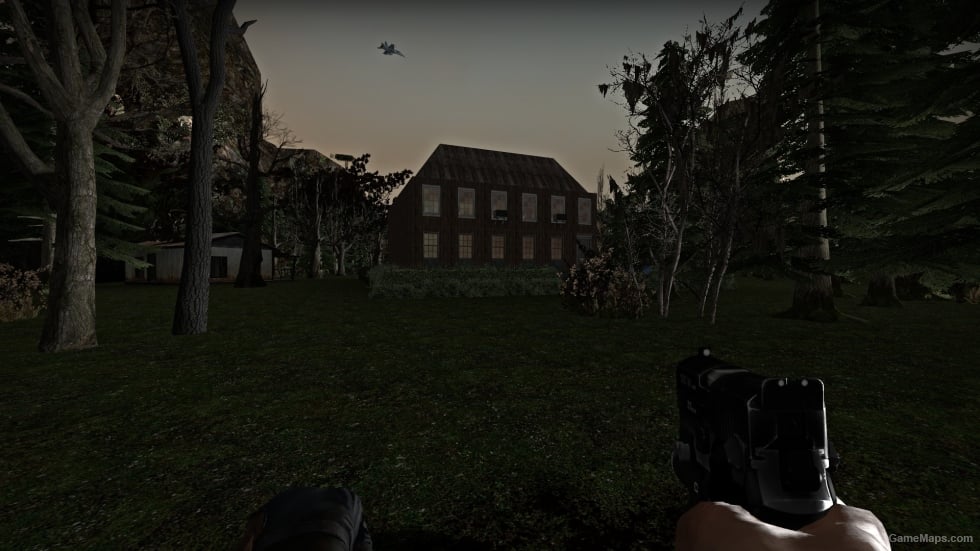
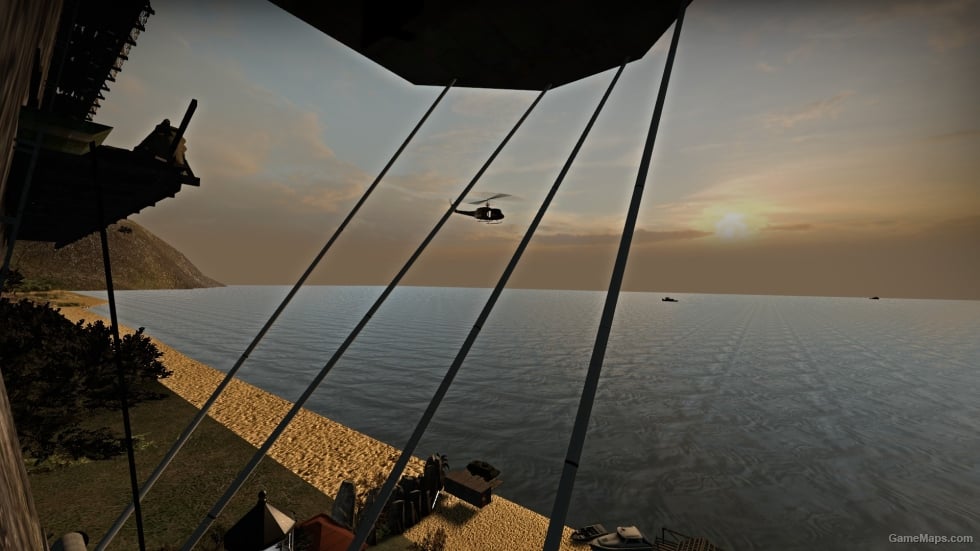
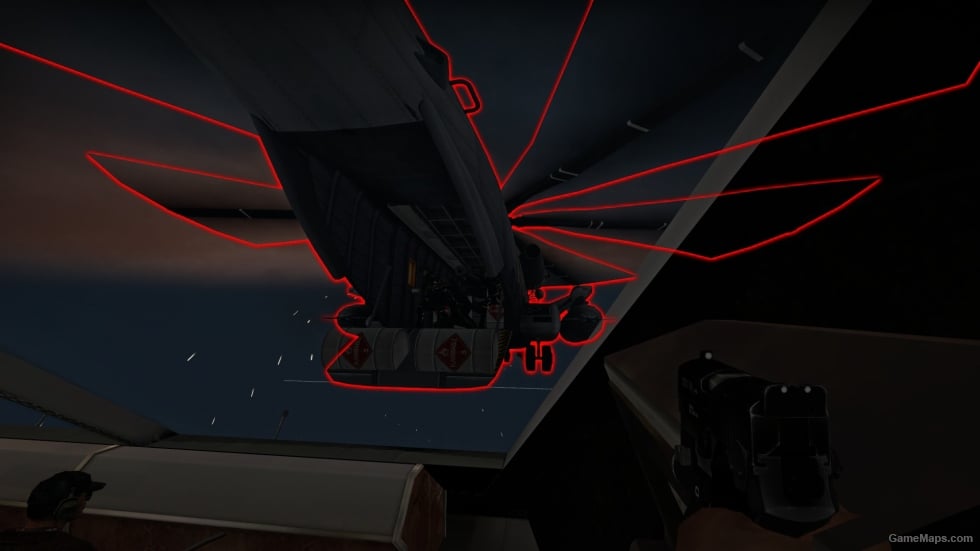
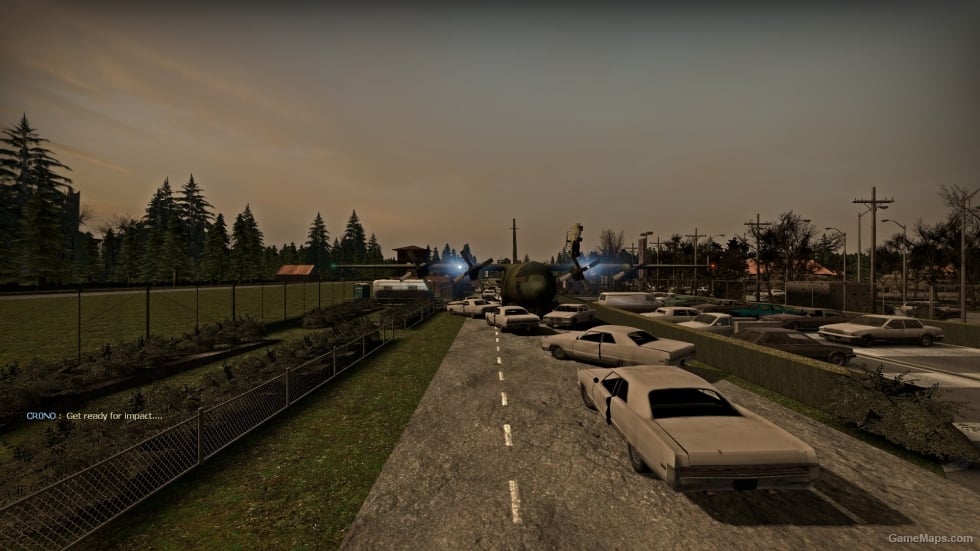
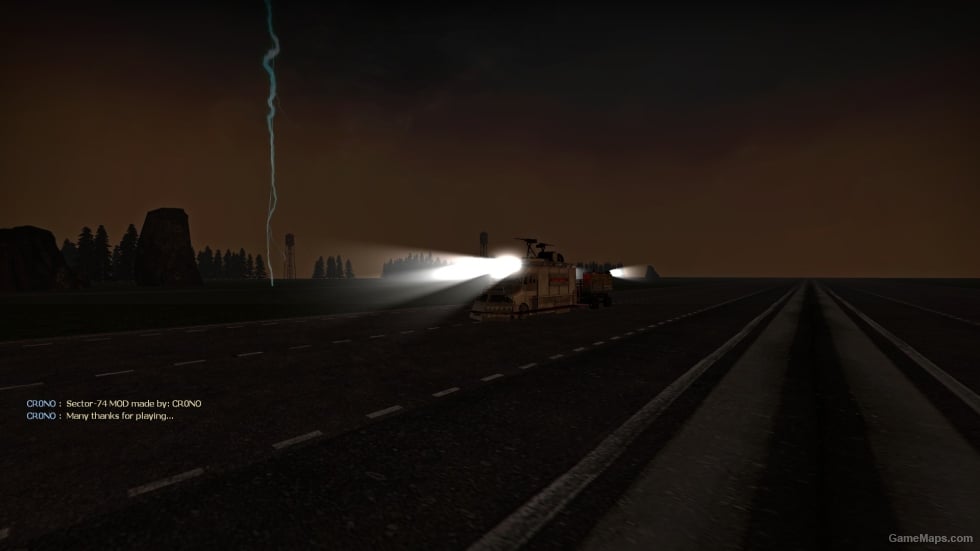
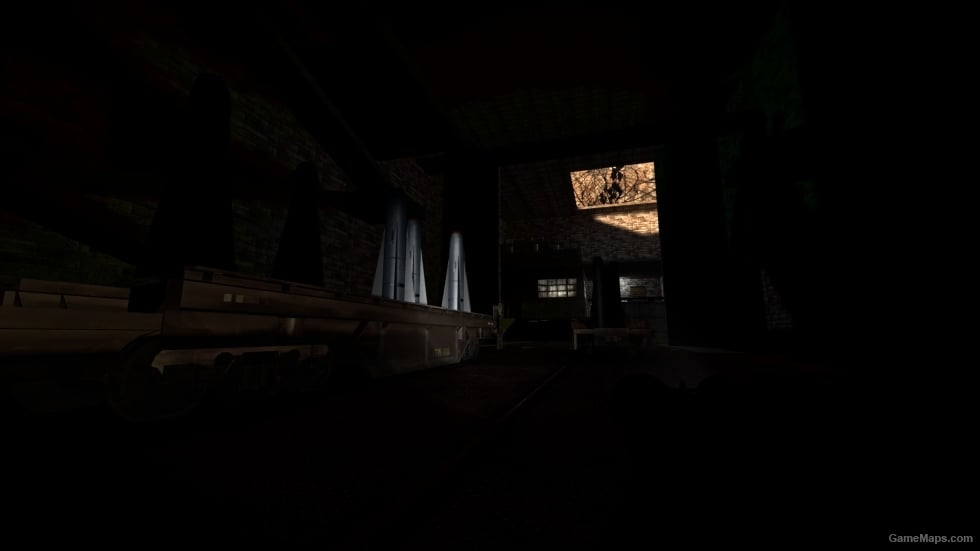
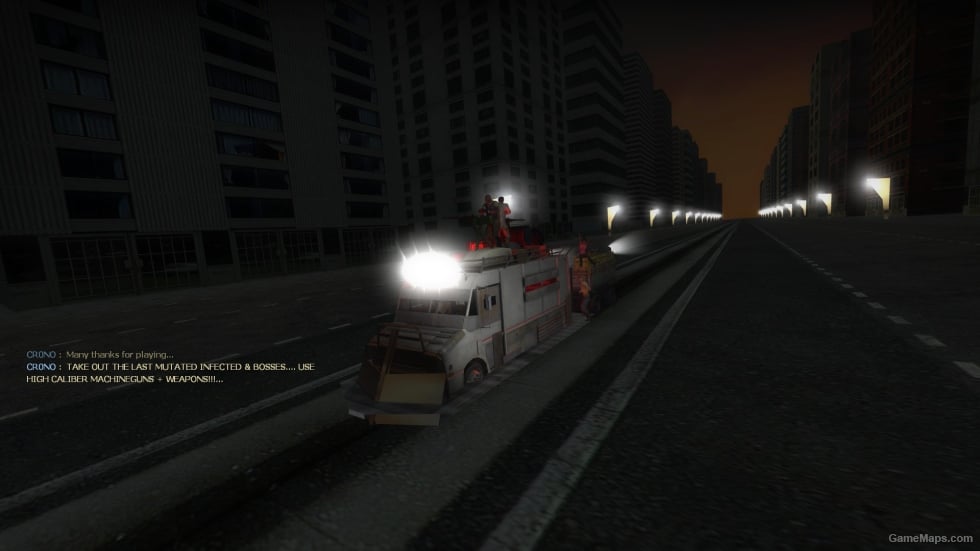
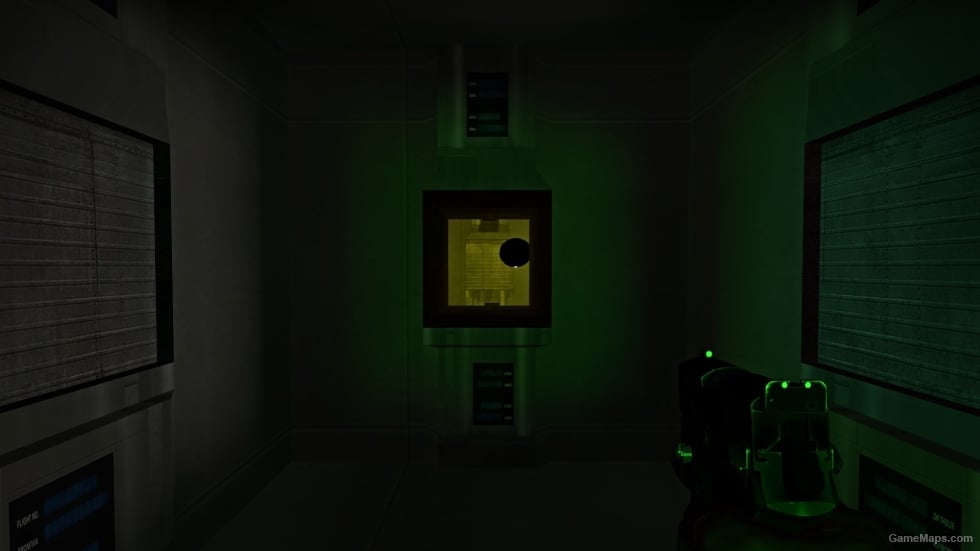
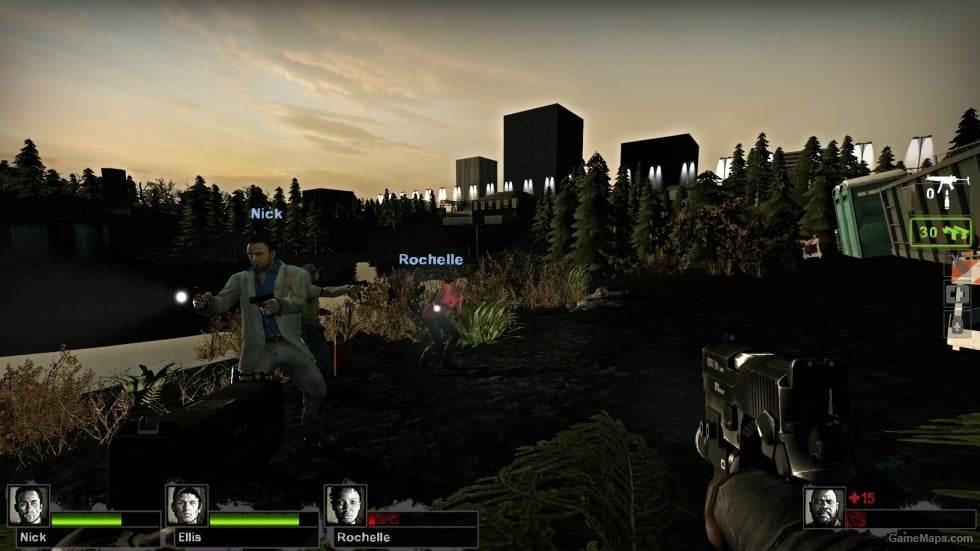
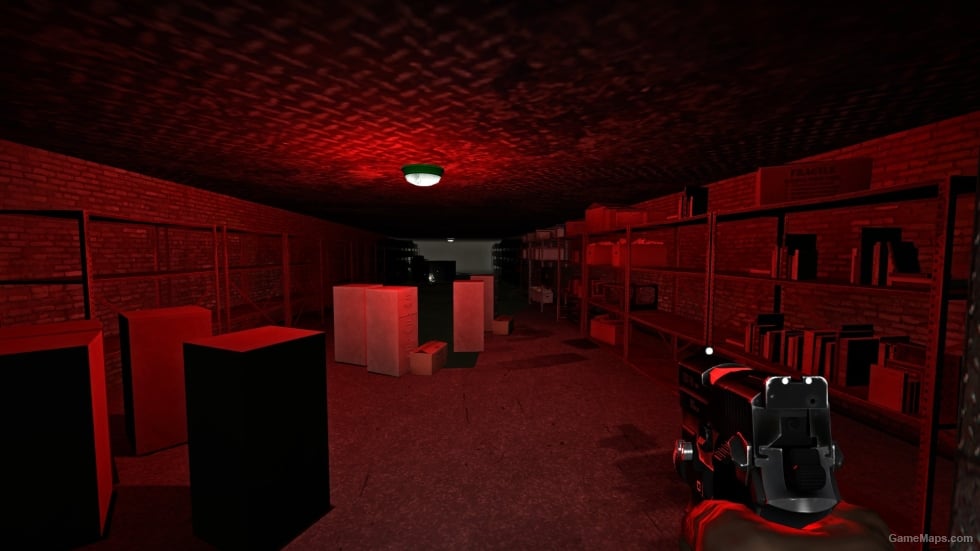
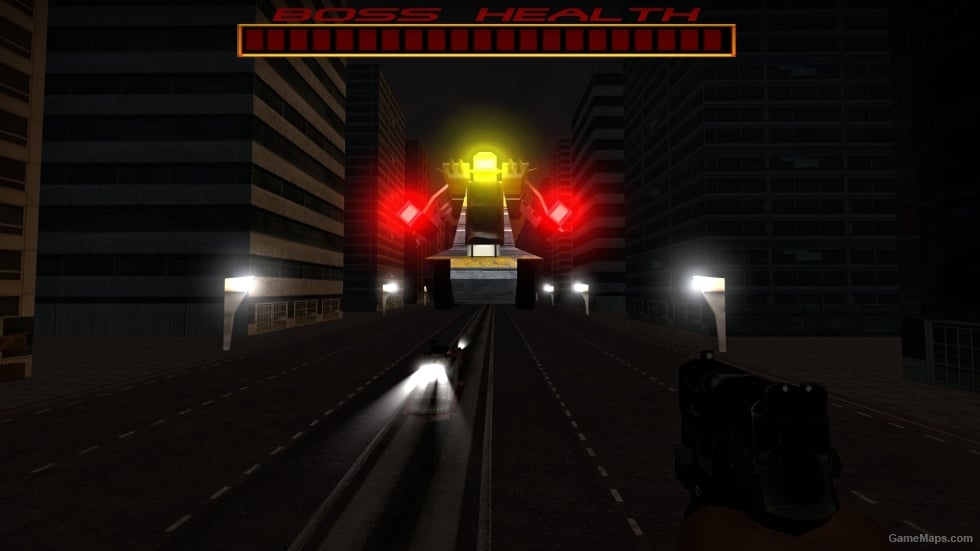

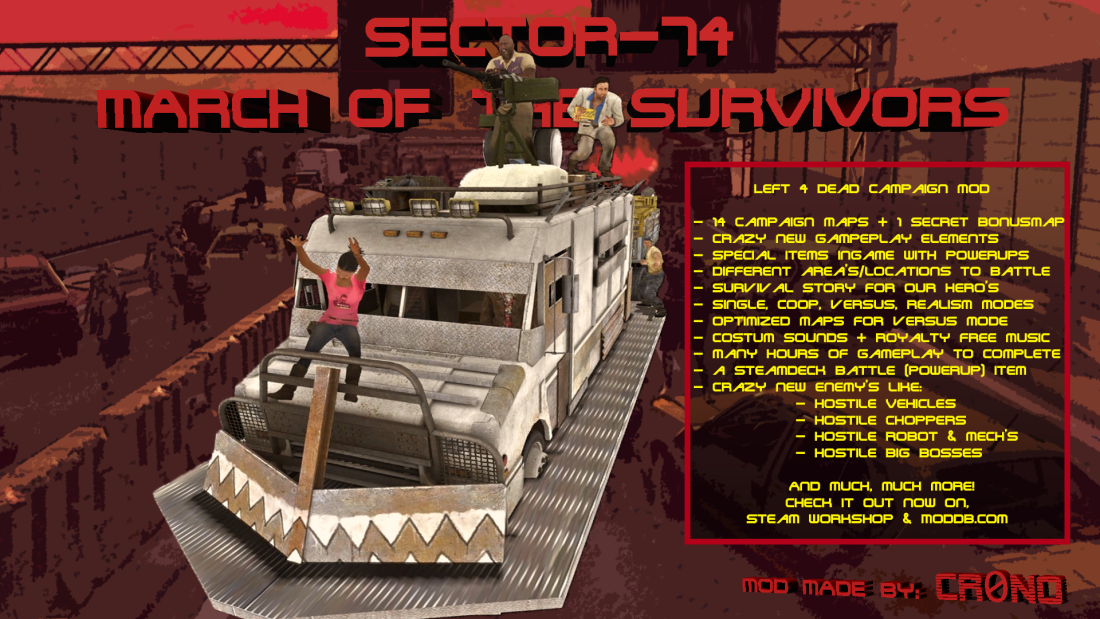
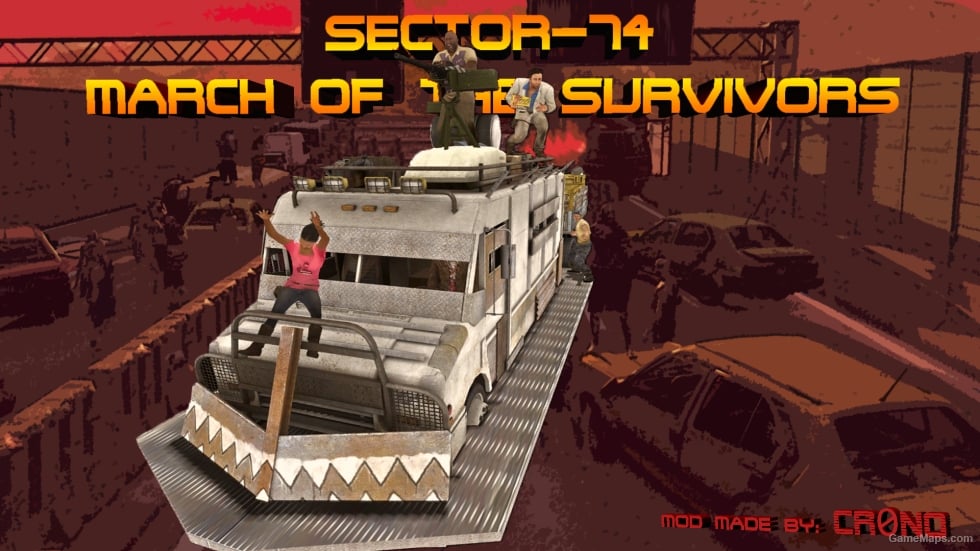
TRAILER V1.3

TRAILER

WALKTHROUGH

SECTOR-74: March of the survivors

16 Level campaign made by: CR0NO

SET SHADER DETAIL (in video menu options) TO MEDIUM OR HIGHER TO SEE THE SKYBOX CORRECTLY


Enjoy.

Special thanks to: Systane (testing and Q&A)
Check out his mods: Pesaro 1 to 4

Like , share and subscribe to my mod , thank you
_______________________________________________________________


WALKTHROUGH

(level 13, 14,15 AND 16 dont have a walkthrough video yet, coming soon)

Encounter spawn bugs? (restarting the map  might help)

Feedback is always welcome, and if usefull , will be used to improve or bugfix my mod in future updates!!!

Like , share and subscribe to my mod , thank you

Developer
sector74.zip
(203.4 MB)
View Changelog
Version 1.66b Complete


WASHER Crazy Platform MAP/MOD made by: CR0NO Washer V3.0 -Shortcut ladder to skip (for those who hate) the platform part in first map! (or if the part 1 crashes in platform, you can use ladder to skip platforming) -Divided ...

First HUD -Green Killfeed -Lower SidePanel -Team Health Counter Enjoy

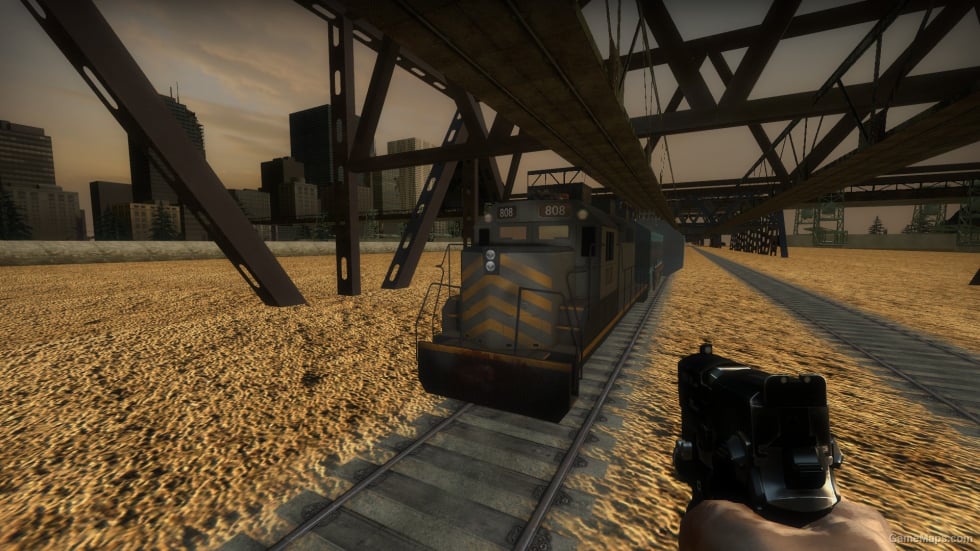
Left for dead by the army helicopters buzzing overhead, four Survivors have no choice but to fight their way to freedom. Rumor tells of shady character who will get them out of the city on a subway train – for a price. [i.imgur.com] ...
")
O===================================O |General Improvements - (ShadowAce Custom)| O===================================O |Credits & Contributions: / O=================O Added Content Links to Mods Mentioned In my description for anyone i...

This is the First addon by me German Empire Anthem ending credit Feature replacement music of The monsters within
")
Zombie escape map ported from Counter-Strike Source. The map is based on the NES game Kage (Shadow of the Ninja). The map contains custom music. If you want to play without it, don't install part 2. Original map by CD意识 / Ported by ...

四个幸存者偶然进入了一个地下遗迹,他们发现了一个白色方块试图将他们永远困在这里。 最后他们打败了方块成功地逃离。 Four survivors enter underground ruins accidentally,and they find a white cube wants to trap them forever. Finally they...

Ropes replaces the special infected ladders. A non animated glowing rope for Versus games. Works in all versus servers too, Have Fun!
Posted this review
Amazing environment and exploration, however horrible optimization and poor balance
This review was posted before the latest release.